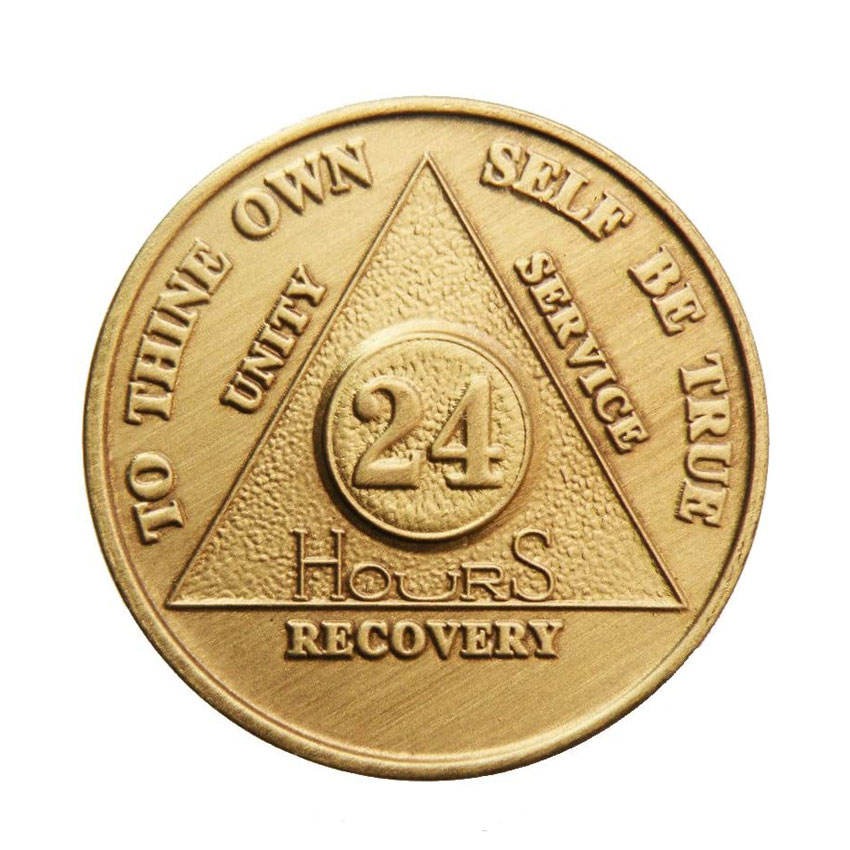
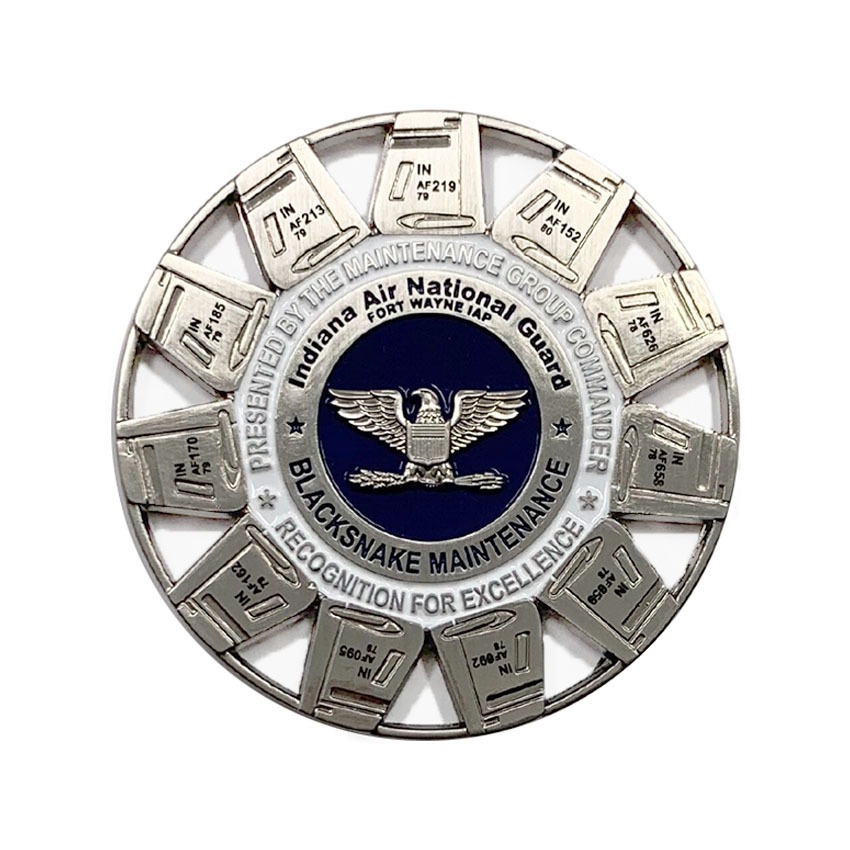
Challenge coins are a special way to show unity, recognition, and tradition. They started in the military but are now used by many groups to celebrate achievements and build connections. In this article, we’ll explain the key rules of challenge coins so you can understand and respect their rich history.
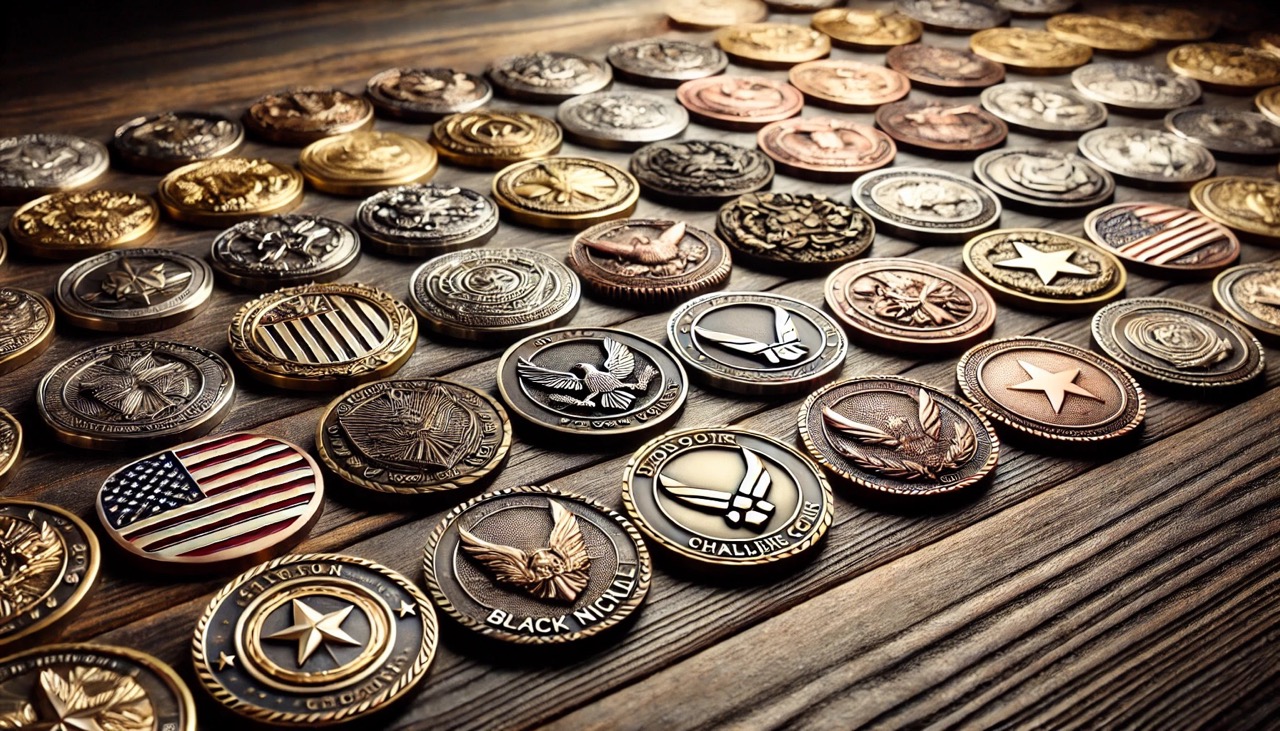
Step 1. Identify the Purpose and Audience of Your Coin
First, ask yourself: why are you making this coin, and who is it for? Is it to recognize a job well done, celebrate an event, or strengthen a group’s identity? Knowing the purpose will shape everything from design to presentation. If your coin is for a military unit, you might focus on logos and mottos. For an event, you might include a date or specific imagery tied to the occasion.
Step 2. Conceptualize Your Design
Here’s the fun part—brainstorming! Start by sketching ideas. Think about symbols, text, or images that resonate with your coin’s purpose. Don’t worry if you’re not an artist; rough ideas are all you need to get started. Many manufacturers also offer design services to help refine your vision.
Step 3. Choose the Size and Shape
Challenge coins come in all shapes and sizes. Standard sizes range from 1.5 to 2 inches (38mm to 50mm) in diameter, but you can go bigger (2.5”) or smaller (1”) based on your needs. Shapes can be circles, ovals, or something custom—like a shield or mascot outline. Opting for a custom shape is a great choice, especially if you are looking for a functional challenge coin (like a bottle opener coin). Think about what will make your coin stand out while being easy to carry or display.
Don’t forget to decide on the thickness of your coin, as it significantly impacts its weight, feel, and perceived value. Most challenge coins are typically 3mm thick, providing a solid and balanced design. However, opting for a 4mm thickness can increase the coin’s weight significantly, giving it a more premium, durable feel. A thicker design is a subtle yet effective way to create a lasting impression of quality and significance.


Step 4. Select the Manufacturing Method
Now that you have your design, it’s time to decide how your coin will be made. The manufacturing method affects the look, feel, and cost of your coin, so choose the one that best suits your needs.
- Die-Striking: This traditional method involves stamping your design onto a blank metal piece using a pre-made mold (die). Die-striking creates a clean and classic look, making it suitable for simple, bold designs. The quality and weight created by the physical properties of brass have always been the favorite of professionals, although the price and shipping cost are higher than zinc alloy coins.
- Die-Casting: This technique involves using a compound mold, where molten metal is injected to accurately create your design. Die casting is ideal for intricate patterns or 3D designs, allowing fine details to shine. If your coin necessitates custom cutouts, complex layers, or depth, die casting could be the optimal choice for you.
Step 5. Decide on Edging Options
The edge of your coin is like the frame around a painting—it enhances the overall presentation. Different edge styles can add texture and personality to your design. Here are some common options for edging for challenge coins:
Standard Edge: Smooth and minimalist, this option keeps the focus on your coin’s design. It’s ideal for simple or modern coins.
Rope Edge: Mimicking a twisted rope, this edge adds a nautical or traditional feel. It’s often used for military coins or formal designs.
Petal Edge: Sharp and edgy, this style gives your coin a bold and dynamic appearance. It works well for sports or action-themed coins.
Reeded Edge: Similar to the edge of a standard coin, this style provides a professional, polished look, perfect for commemorative or official coins.
Step 6. Focus on Polishing
Polishing gives your coin that eye-catching shine. It plays a huge role in the overall aesthetic of your final product.
High-gloss polishing gives your coin a reflective, eye-catching surface. It’s perfect for designs that need a modern or high-impact look. As for antique finishes, they give a vintage feel by dulling the shine, ideal for coins with historical or ceremonial themes.
Step 7. Pick Plating Designs
Coins with gold, nickel, or copper plating and a shiny finish are typically paired with soft enamel or imitation hard enamel colors to ensure all logos and text are easily readable.
Antique finishes, such as antique bronze, antique nickel, antique copper, or antique gold, have consistently been the top choice for many customers. This is because antique finishes allow all logos and text to remain easily recognizable even without additional color accents. Moreover, antique finishes offer a unique vintage aesthetic.
Step 8. Add Color and Enamel
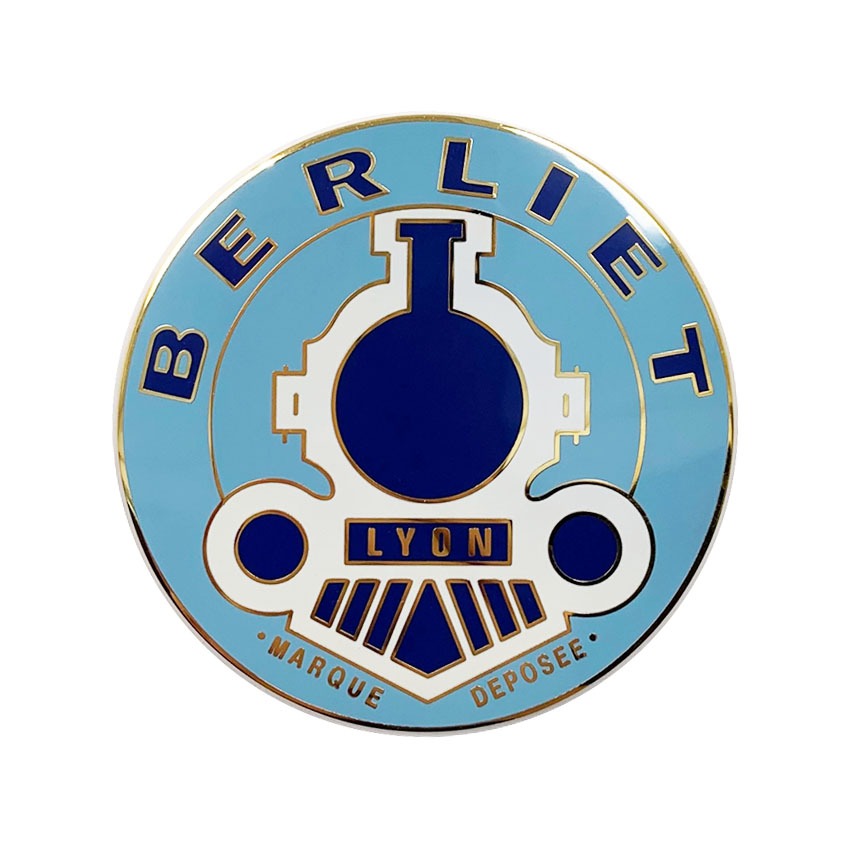
Decide whether to include color on one side, both sides or none at all. Also, consider the type of color finish that best suits your design. Adding color can make your coin pop and bring your design to life. You have two main options for enamel:
- Soft Enamel: The color is applied to recessed areas, creating a textured effect with raised metal borders. It’s affordable and works well for coins with a lot of detail.
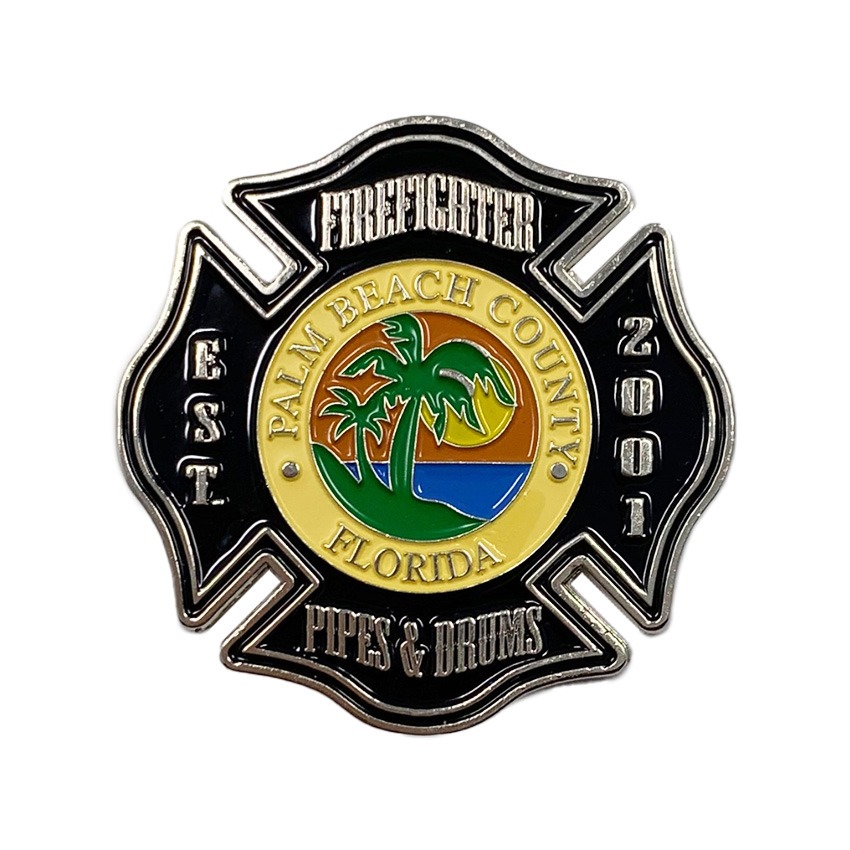
- Imitation Hard Enamel: The enamel is polished flat with the coin’s surface, creating a smooth, durable finish. This option is ideal for coins that need a sleek, high-end look or need to endure heavy use.
Step 9. Approve the Final Proof
Before production begins, you will receive a digital or physical proof of your coin design. Carefully review every detail, including colors, text, artwork placement, and any special finishes like edge patterns or enamel fill.
Pay attention to even the smallest elements to ensure the final product aligns with your vision. If anything seems off, request adjustments promptly—this is your last opportunity to make corrections before production starts.
Step 10. Production and Delivery
Once the proof is approved, the production phase begins. The time varies based on whom you’re working with. Intricate elements like custom shapes, dual plating, or intricate engravings usually extend this timeline.
After production, your coins are carefully inspected, polished, and packaged for shipment. Many manufacturers offer packaging options, such as velvet pouches or presentation boxes, to enhance the final product. Upon delivery, ensure all coins meet your expectations before distributing or showcasing them.
Start Your Custom Challenge Coin Journey with Us Now
Designing a challenge coin is a thoughtful process that brings your vision to life. From choosing materials to reviewing proofs, every step matters. Partnering with a trusted manufacturer is key—they’ll guide you, ensure top-notch quality, and deliver a final product that meets your expectations.
At Jin Sheu, we pride ourselves on crafting custom challenge coins with unparalleled craftsmanship and customization options. Whether you need coins for awards, recognition, or special events, our team combines expertise with state-of-the-art facilities to bring your vision to life. Let us help you create coins that leave a lasting impression. Contact us today to request a quote and start designing your one-of-a-kind challenge coins!
